Video Tutorial – Simple Loops Bracelet
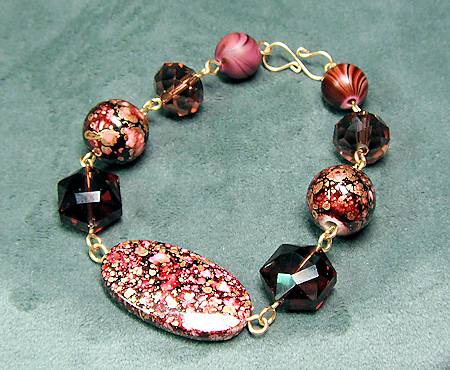
This is a video tutorial on how to make a simple loops bracelet with beads. It’s a quick and easy project, and it’s also a lot of fun!
What Are Simple Loops?
Simple loops are circular loops made around a pair of pliers which aren’t wrapped; this means you can open and close them easily. They are great for earrings, necklaces and (of course) bracelets!
There are some things you need to know about beforehand, though, so read on through this page before getting started.
Wire and Wire Gauge
In the tutorial, you will see that I made the simple loops bracelet using dead soft 20 gauge wire in red brass. It’s an inexpensive wire, and it’s relatively stiff, which makes it great for learning and for fun jewelry. You can also use copper, regular brass or artistic wire to practice your simple loops.
However, if you are using sterling or gold-filled wire, I would suggest either using half-hard in 20 gauge, or move up in thickness to 18 gauge. This is because since the loops aren’t wrapped, they could loosen if you are rough with your bracelets (like me, LOL).
If you can’t locate half-hard wire, you can work-harden it yourself by running a length of wire through a cloth, your fingers or a pair of nylon-jawed pliers. Run the wire through your cloth/fingers/pliers at least 7 times to make it harder.
Equipment and the Tutorial
To make this bracelet, you’ll also need the following equipment — round nose pliers, chain or flat nosed pliers and flush cut pliers. Oh, and beads as well as a clasp. 🙂
I hope you enjoy watching how to make simple loops, and using them to make a bracelet. Remember to check out my project page, as well as some more tutorials below. Have fun!
How to Make Beaded Earring Findings – Video Tutorial
If you want to know how to make beaded earring findings, I’ve got you covered. In this video tutorial I will show you how to make these earring findings with wire, and with whatever beads you want to use!
Earring Style
The style of these earrings is called several names. In the tutorial, I refer to them as “shepherd’s hook”, but they are also known as fish hook and french hook earrings.
But it doesn’t really matter what you call them — they are pretty by any name!
Wire Wrap – What Wire to Use?
In making these earrings using a “wire wrap” or “wirework” technique, wire does matter. While how the wire looks is one consideration, things like gauge, material and hardness do come into play when making these.
In the video tutorial, I used 20 gauge wire. It was silver-colored artistic wire, which is great for learning the technique. Copper and red brass are also good alternatives for learning.
Once you are comfortable with making the findings, you will probably want to make them in sterling silver, silver-filled, gold-filled or niobium, as these are the metals that are far less likely to have an allergic effect.
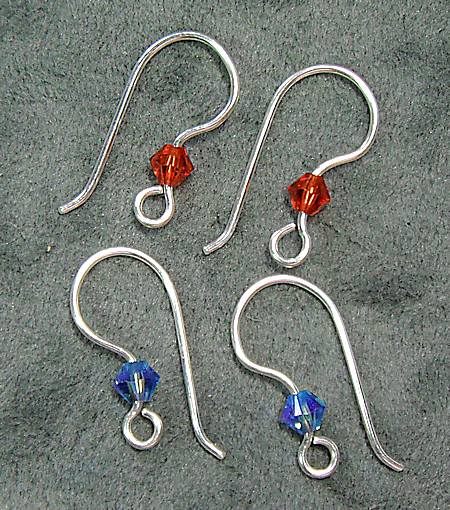
(The photo at the top of the page are findings made from sterling silver.)
 When it comes to gauge, 20 is pretty good. It’s stiff enough (even in dead soft) to hold it’s shape well, while soft enough to manipulate easily. If the wire is really soft (copper or fine silver), you may want to use half-hard. Or, you can work-harden the wire a bit before you start forming the earrings.
I see a lot of these style earrings for sale in 21, 22 and 24 gauge. If you have really small holes, you can go 22 gauge, but you’ll need either full-hard wire or do some work hardening beforehand.  I don’t recommend 24 gauge — it’s just too thin, unless you are using something like stainless steel.
And you can certainly go for a thicker wire (19 or 18 gauge), if your earring holes will comfortably accommodate them.
Beads and Sizes
As far as the beads go, it’s pretty much whatever you want. I suggest that you stay between 2 mm and 4mm in size, for comfort and weight sake.
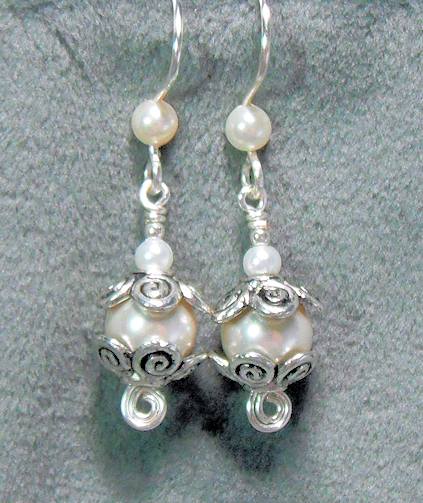
I personally like the Swarovski crystal pearls and bicones for my beads. They come in so many colors, in both 3mm and 4mm sizes that it’s easy to coordinate with your earring dangles, like in the photo with the pearls.
Video Tutorial
You’ll see a little video screen; click on it and it expands to regular size. Then all you need to do is watch the video!
Don’t forget to check out some of my other video tutorials — the links are below.  Remember my jewelry projects, too. Enjoy!
Double Spiral Wire Earrings Video Tutorial
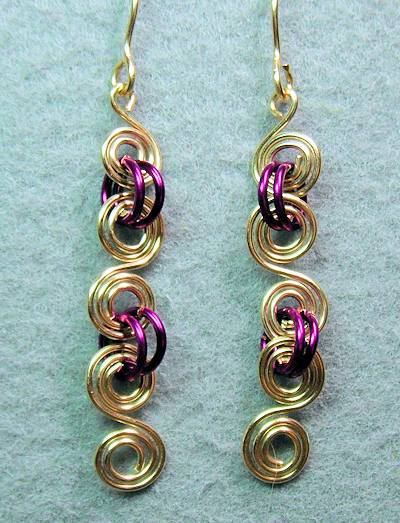
 Making spirals from wire is a whole lot of fun, although a lot of people have problems at first. However, once you get that “ah hah” moment, making spirals, and double spirals, is very easy. And they are a perfect choice for earrings that swing and sway as you wear them. 🙂
In this video tutorial, I’ll teach you how to make spirals, both open and closed. Then you’ll take the next step and make double spirals from wire.
And you’re not limited to just plain spirals, but also ones with beads.
These earrings can be made longer or shorter that what is shown on the video. You can substitute larger jump rings if you like, to add more length with a minimum of weight.
This technique can also be used to make a bracelet, although I would suggest using 18 gauge wire if you do that. And what about a necklace? It’s a great technique for necklaces as well.
Supplies Needed
You will need just a little in the way of supplies for these earrings — 20 gauge wire, jump rings, earring findings. Then a pair of wire cutters and two pairs of pliers. And if you want to make a beaded version, a few beads. 🙂
The specific supplies needed for each set of earrings are as follows.
Set 1:Â Double Spirals (photo at the top of the post)
- Four pieces of 20 gauge wire, about 3 1/4 inches long each. I used red brass.
- Eight jump rings, 18 gauge, 5mm inside diameter. I used amethyst.
- Pair of earring findings.
Set 2:Â Double Spiral With Beads
- Four pieces of 20 gauge wire, about 4 inches long each. I used red brass.
- Eight jump rings, 18 gauge, 5mm inside diameter. I used amethyst.
- Four 6mm beads. I used rondell shapes, in metallic peacock.
- Two 4mm beads I used rondell shapes, in metallic peacock.
- Pair of earring findings.
Let your imagination be your guide!