Time for Some Serious Bling
 Even a teacher needs lessons herself at times, so I took a class with Sabine Lippert this past weekend. In case you don’t know, Sabine is the author of the Beaded Fantasies
 book on Amazon. And her class was definitely an eye-opener!
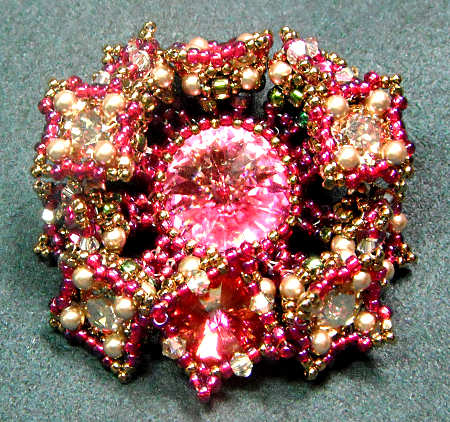
If you’ve been following my work, you know that I am a fan of “bling”. And although I tend to wear a bit more subdued variety of bling, this particular project, called “Blossom Bezel” called out to me.
(Well, maybe I am not so subdued, after thinking a moment — after all, I do wear “Harlequin’s Romance” quite a bit…)
At any rate, the blossom is quite substantial — it almost covers the palm of my hand. The center rivoli is 18mm, which perhaps gives you a better idea of scale.
Lessons Learned
For one, there is a lot more than meets the eye, as far as construction goes.
Lesson two, 8mm chatons and rivolis are quite useful. I always thought that a rivoli had to be at least 12mm in order to successfully be nestled into a beaded bezel, but I was wrong!
And speaking of chatons — I never realized they could be so useful, or so much fun to work with. I guess partly because 8mm is about the largest size, and as you see above — I didn’t know that 8mm was a viable size indeed.
Let’s see…I also got a refresher in cubic right angle weave. I’ll have to practice a bit more before I do a tutorial on it, though, so I can make sure that I’m teaching in a way that is easily understood. Well, relatively easy at any rate — cubic RAW is a little trickier than regular RAW.
And, Sabine reminded me of a right angle weave technique I knew about (because I do it on my earrings), but which I had never really applied to my non-earring RAW projects to get them to beautifully straight. It was one of those “duh” moments where I smacked the side of my head (well, figuratively at any rate).
(I had a moment of pride when Sabine looked at my first row of RAW and remarked, “That’s what right angle weave is supposed to look like”. Yay!)
What Will I Pass Along?
First, I won’t be doing a tutorial of any kind on Sabine’s “Blossom Bezel” — it would not be fair to her, as she worked hard to make the design and then to teach the class.
I will do a video on the RAW technique — it’s not something she came up with (and even said so in the class), so that is OK to show you. And like I said before, I already do it in my earrings.
I will come up with a bling project of my own, using rivolis (and maybe even chatons). I’ll be starting some design ideas this week, so look for a class, probably in the new year.
That’s it for now — catch up with you later!
Chain Maille and Jump Rings

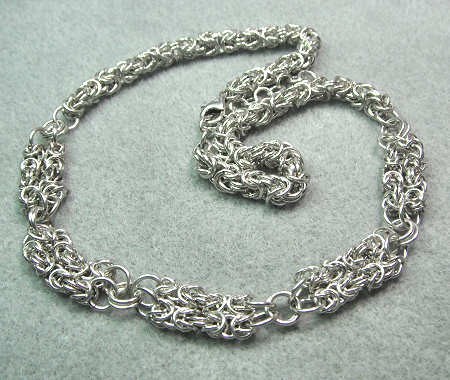
Sterling necklace made with a variation of the Byzantine weave.
Chain maille (also spelled chain mail) is weaving chains and sheets by using rings. Traditionally, this was done using metal rings, although today’s patterns can make use of jump rings made of metal, fabric, beads and rubber or plastic. It’s a brave new world!
Before you run out and buy a bunch of jump rings, you need to be aware of their aspect ratio.
The what?
Every jump ring has an aspect ratio (also known as AR), which is calculation based on the size of the ring compared to its gauge. And the various weaves are made with rings of a certain AR. (Read on a little further and you’ll get more detailed info on this subject.)
Jump Rings and Metals
You can buy rings from all kinds of places, in all kinds of metals and in a rainbow of colors. You can get rings made with precious metals (silver, gold) or base metals (pretty much anything but silver or gold).
When learning how to do chain maille, you may want to start with an inexpensive metal such as copper, which is also relatively soft (and therefore easy to open and close). Aluminum is nice and light (and can also be andonized in several colors), but it can be stiff and tough to close in thicker gauges, until you are used to the stiffness.
With This Ring…
Here are some things you need to be aware of when going jump ring shopping, especially if you are shopping online:
- Wire Gauge: thicker gauges make thicker weaves, which is nice when you want a substantial piece of jewelry. But for some projects, like earrings, you may want a finer, lighter gauge. 18 and 20 are the most commonly-used gauges in jewelry.
- Diameter: To calculate AR you need to know the inside diameter (ID) of the jump ring. However, sometimes you only get the measurement for the outside diameter (OD). Yikes!
- Material: Are you making a casual piece of jewelry or something extra-special? When it comes to chain maille, almost anything goes. Special pieces may call for precious metals. Casual jewelry is fun in colors.
- Cut: I go into it more in the free ebook below, but how the jump ring is cut off the mandrel is important. With precious metals, you want rings that are saw-cutl other ways of cutting will have one end of the jump ring that is flush, and the other cut end will have a slight point.
Free Ebook Tutorial
And here you go — a free ebook tutorial for Chain Maille Rings. You’ll get all kinds of info on:
- What to look for when buying jump rings.
- The two main wire measuring standards and how they differ.
- AR Chart — Gauge, ID, OD and AR for common gauges and sizes of jewelry.
- Examples of chain maille weaves made with different ARs.
- Mini-tutorial for a 4-in-2 weave.
It’s 9 pages total, and yep, it’s free to you, so enjoy! 🙂
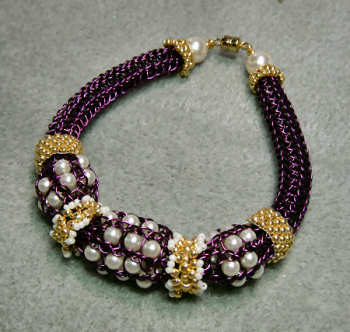
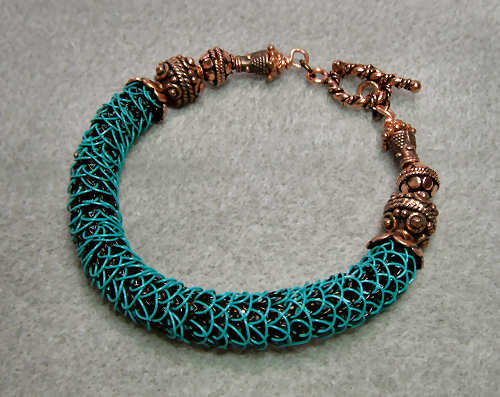
 The Viking Knit Jewelry Embellishments ebook tutorial was born out of my love of color. I enjoy making viking knit (soothing to make the stitches), but I wanted more than just a chain. I wanted something that would stand out, something that said, “look at me!”.

