How to Make a Memory Wire Bracelet – Video Tutorial
 Here’s a video tutorial for making a memory wire bracelet. I love “instant gratification” projects, and this style of jewelry fits the bill nicely! It’s quick, easy and fun, and also requires few tools.
What is Memory Wire?
Memory wire is called such because it’s a hard wire that retains its shape very well. Typically it’s made from steel of some type and has lots of spring to it.
Because it’s a hard, springy wire, it doesn’t deform easily. This means threethings:
- It won’t collapse on your wrist.
- It’s harder to manipulate to make end loops.
- To cut the wire, you need a wire cutter specially made doe cutting memory wire.
However, it doesn’t mean you can’t make end loops; only that you have to put a little more effort into it to close the loop. (But the good news is that you only need to make simple loops, and don’t have to wrap the ends on the bracelet.)
I want to emphasize that you really do need a pair of wire cutters that is designed to be used with memory wire. This stuff is really hard, and I guarantee you will damage your regular wire cutters if you try them. (Yes, I disregarded the warning the first time…and yes, I trashed that pair of wire cutters.)
Memory Wire Video Tutorial – How to Make a Bracelet
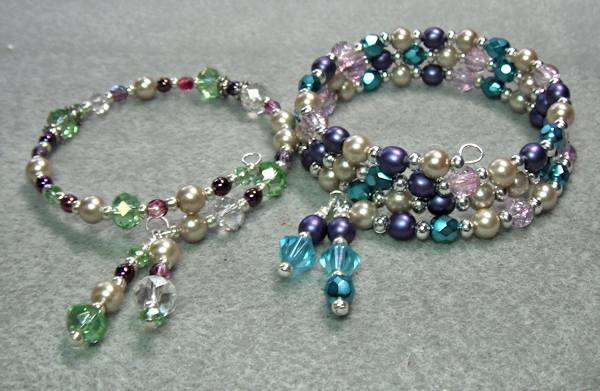
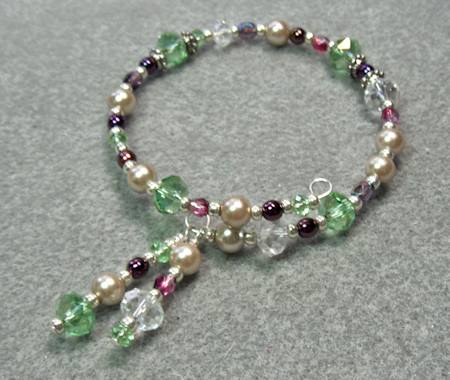
 In order to make the bracelet you see to your left, you will need the following supplies:
- Memory wire in a bracelet size. (It comes in a package of between 25 and 100 “rounds”, and there are two sizes for bracelets, small and large — choose whatever is best for you.)
- A selection of beads in various sizes. In the example I have fire polished beads of different shapes, crystal pearls and some Czech round beads.
- Size 8 seed beads, your choice of color. I used a permanently galvanized silver color.
- Memory wire cutter.
- Pair or round nose pliers.
Note:Â If you want to make the dangles, you’ll also need two headpins (2 or 3 inches) and perhaps another pair of flat or chain nose pliers for the wrapped loops on the headpins.
Update: One of my readers mentioned something that I should have talked about in the video, so I wanted to make a quick note. When you’re making the wrap bracelet, it’s best to make your wrap at least 1.5 times around your wrist, for security. I used very lightweight beads in my demo, but if you use heavier beads, please think of cutting the memory wire so that it wraps at least twice. (Thanks, Maria!)
And remember to check out some related tutorials! They include the wrapped loops, simple loop bracelet tutorials. (And of course don’t forget the projects page for more advanced work.)
Enjoy! 🙂
Leave a Reply