Starflower Earrings Video Tutorial
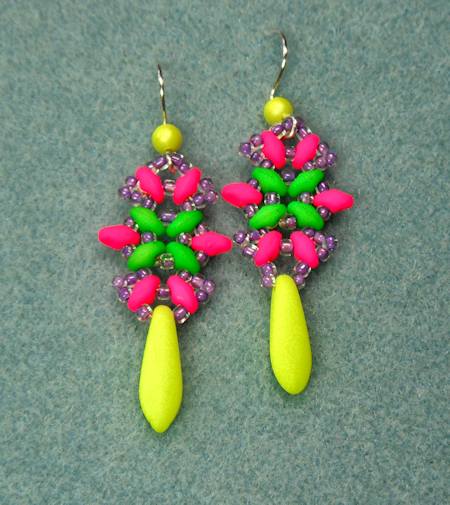 This Starflower video tutorial with Superduo beads came about because I had bought a bunch and then…what do I actually do with them? The shape seemed to lend itself well to right angle weave, but I wasn’t sure that was the direction I wanted to go. Hmmm, why not just play around and see what happens?
So I started with right angle weave, then decided to go another way altogether. Voila! The starflower was born!
About Superduo Beads
The Superduo beads are from the Czech Republic, and they have two holes instead of one. They are also somewhat oval in shape; between the shape and the two holes. The size is 2.5mm x 5mm, and it seems like these seed beads can be incredibly versatile.
I have to hand it to the Czech beadmakers — they have really come a long way in the last few years. The different shapes they are coming out with, and the color combinations they are dreaming up are absolutely to die for!
Very recently they’ve come out with some neon colors, which is the pair I feature in the video. I just couldn’t resist!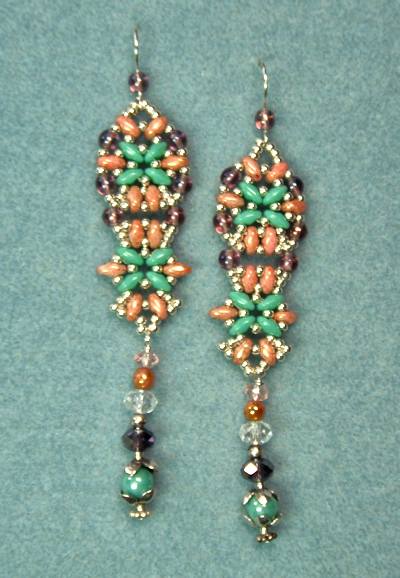
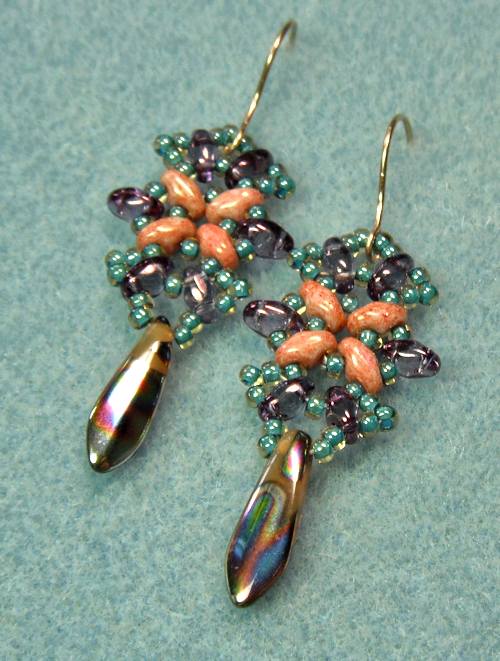
Not a fan of actually wearing neon colors? Not to worry, the Superduo beads come in more traditional colors, as well as beautiful marbled, metallic and half-coated colors.
Oh, and I also used dagger beads with these earrings in the video beading tutorial. You can of course skip the daggers or use some other kid of bead or charm in its place. As you can see in the photo to the left, I have one pair where I used a beaded headpin in place of the dagger.
Video Tutorial
First is the video tutorial, then below are the complete list of supplies needed to make any one of the earrings on this page.
Before I get to the supplies, one word about the needle and thread that I used in the demo. Typically I use Fireline as my thread of choice, but the Superduo beads can have the thread show at times. So, this time I have used One-G thread, as it comes in a multitude of colors (although sadly not any are neon).
For the beading needle, I am a big fan of size 11 needles. The eye of the needle is easier for me to see to thread, and the thickness is suited to most projects. You can use a size 12 with these earrings, but I wouldn’t really suggest a size 10 — although it is possible.
Supplies Needed for the Earrings
In addition to the standard needle, thread, scissors and a pair of pliers for the earring findings, here are the supplies for each of the three earrings.
Neon Earrings
- 8 Superduos, neon green
- 12 Superduos, neon pink
- 2 Dagger beads, 15x5mm, neon yellow
- < 1 gram size 11 seed beads, purple colorlined crystal
- 2 beaded earring findings in silver-filled
Green and Purple Single Starflower Earrings
- 8 Superduos, ruby luster
- 12 Superduos, crystal vega
- 2 Dagger beads, 15x5mm, peacock colors on antique gold
- < 1 gram size 11 seed beads, seafoam colorlined crystal
- 2 earring findings in gold-filled
Turquoise and Pink Double Starflower Earrings
- 16 Superduos, turquoise
- 24 Superduos, ruby luster
- 2 beaded headpins, closed with a wrapped loop.
- < 1 gram size 11 seed beads, permanently galvanized silver
- 12 round beads, 4mm, amethyst AB
- 2 earring findings in silver-filled
I hope that you enjoy making (and wearing!) your new earrings. Make ’em in a ton of different color combos.
In the next week or so, I will also have another video that shows how to make starflowers into a bracelet! So if that tickles your fancy, get busy and create around 10 starflowers (without daggers or bales) in preparation. 😀
Hoops and Daggers Earrings Video Tutorial
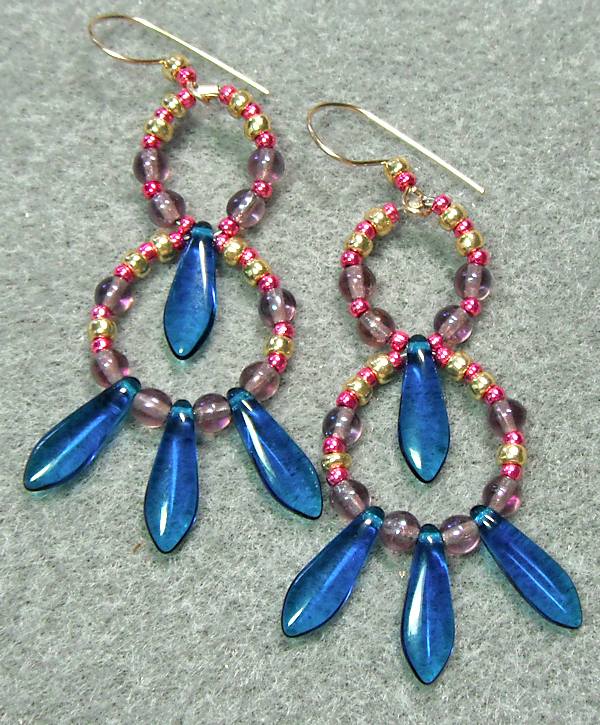 The Hoops and Daggers earrings in this tutorial came about for two reasons. One, I wanted to play with some of my dagger beads; two, I wanted to experiment more with beading wire and how it’s different from beading thread. There is definitely a difference between making these earrings with wire versus thread!
First, About Beading Wire
So what’s the difference between wire, beading wire and beading thread? And why does it make the projects look different, based on what you use?
Wire is what it sounds like — wire in various gauges, materials and colors. Examples are sterling silver, copper, gold-filled and artistic. Using this as your base, you can use the wire to shape the beads into various positions, bends, etc. and it will hold the design.
Beading wire is made from extremely thin strands of cable (usually steel) and coated in nylon. The resulting wire is quite thin, but very strong. The number of strands used to make the beading wire determines its flexibility — more strands = greater flexibility. However, being made with wire to begin with, it holds curves better than the other two.
 Beading thread is…well…thread! There are many different types — Fireline, Nymo, K.O., Silamide…the list goes on. Each thread has its own properties, but they all have much more drapability than beading wire. It’s also a lot thinner than beading wire. You want to use beading thread for more intricate beadwork, partly because of the flexibility, partly because it is so much thinner and most beads can take many passes with the thread — and not necessarily with the beading wire.
Although I neglected to mention it before, there is also clear monofilament fishing line that can be used. It’s somewhat between beading wire and thread in stiffness, and comes in everything from extremely thin to very thick. I don’t usually recommend the clear monofilament fishing line (not to be confused with crystal Fireline) because it doesn’t stand up to wear very well over time.
Video Tutorial and Supplies
Here is the video for how to make Hoops and Daggers, as well as the supplies for all three of the examples that I showed in the video (and are on this post).
The supplies needed are as follows:
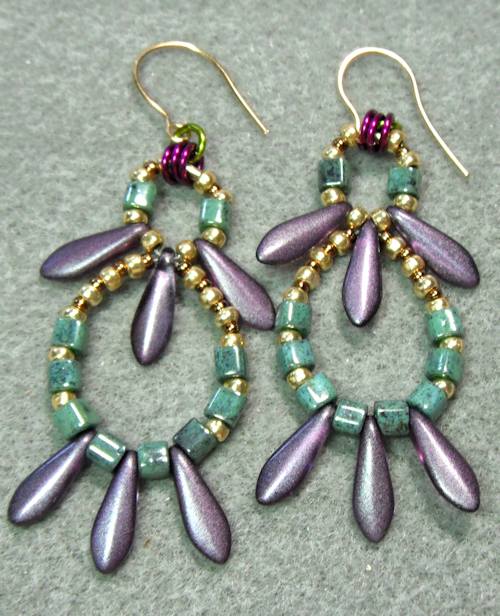
Blue Dagger Earrings
- 8 Czech dagger beads, 15x5mm, capri blue
- 20 Czech druk beads, 4mm round, light amethyst AB
- 20 seed beads, size 8, permanently galvanized gold
- <1 gram size 11 seed beads, permanently galvanized pink
- 2 crimp beads, 2x2mm, gold-filled
- 2 earring findings
- Beading wire, 19 strand, 014″ or .019″ diameter
 Purple Dagger Earrings
- 12 Czech dagger beads, 15x5mm, matte amethyst
- 20 square seed beads, 4mm, marbled turquoise green
- 36 seed beads, size 8, permanently galvanized gold
- <1 gram size 11 seed beads, bronze
- 2 crimp beads, 2x2mm, gold-filled
- 2 earring findings
- Beading wire, 19 strand, 014″ or .019″ diameter
- 6 jump rings, 3.5mm inner diameter, 18 gauge – amethyst
- 2 jump rings, 3.5mm inner diameter, 18 gauge – gold
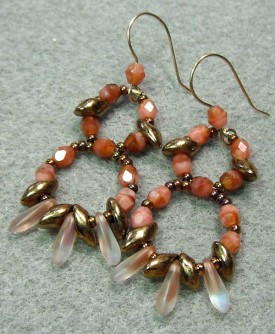
Pink Dagger Earrings
- 12 Czech dagger beads, 11x3mm, matte Crystal/Pink
- 20 Czech fire polished beads, 4mm round, Pink Opal AB
- 12 magatama seed beads, 7mm, bronze
- <1 gram size 11 seed beads, metallic iris
- 2 crimp beads, 2x2mm, gold-filled
- 2 earring findings
- Beading wire, 19 strand, 014″ or .019″ diameter
How to Make a Stretch Bracelet
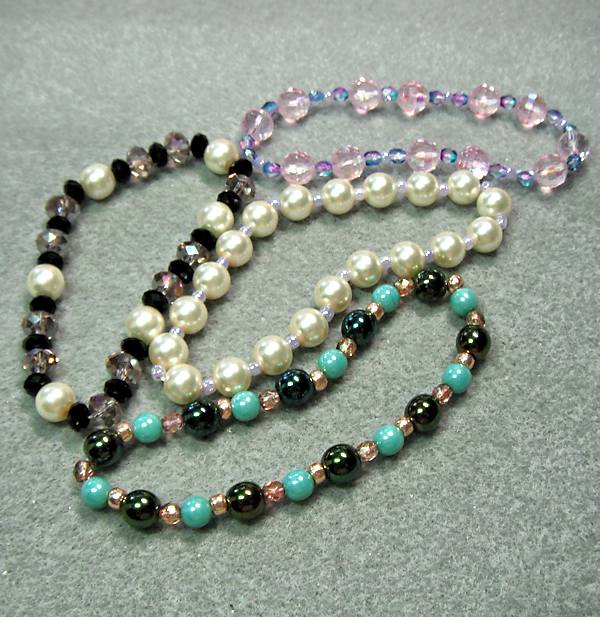 You have a new outfit that you’re dying to wear, but you don’t have matching jewelry and only 10 minutes to spare. How about making a stretch bracelet? They are fast to make, and even if they aren’t what you might call high end jewelry, they are a lot of fun.
Putting the Stretch in a Stretch Bracelet
The most import part of your stretch bracelet is the stretch cord. There are several types out on the market — Power Cord and Stretch Magic are probably the two most commonly seen. I happen to be using a product called Opelon, by Beadsmith, which I have had some good luck in using.
Some of the stretch cords / thread are stiff enough that you don’t need to use a needle with them. Some, like Opelon, require a needle. I like to use a big-eyed needle — the eye runs almost the entire length of the needle, meaning that you can thread it very easily.
There are also different weights of the stretch material. My rule of thumb; use the thickest thread / cord that will still fit through your bead holes. Since it stretches, if gets a lot of wear so a stronger cord is the best choice.
Beads, Beads, Beads
What kind of beads can you use with stretch cord? Pretty much anything that has a large enough hole, but keep the following in mind — don’t use beads that have sharp or rough edges that could abrade or cut the cord / thread. This includes many gemstone beads, metal beads and crystals with sharp holes. If you like the look of crystal, though, I’ve had some good luck using the Czech fire-polished crystal beads.
You can make a pattern when stringing on your beads, or you can be random. The nice part is that since it only takes a minute or two, if you don’t like it — take the beads off and try again!
Sizing Your Project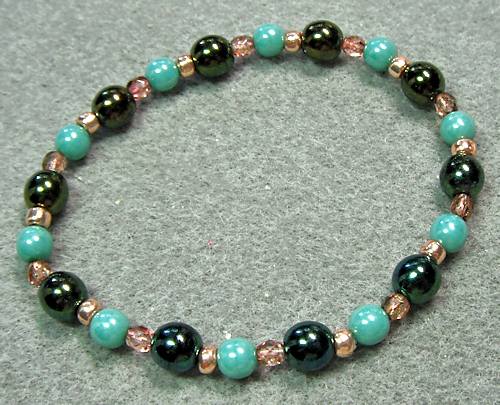
Whether it’s a bracelet or a necklace, you need to make sure that the necklace will go over your head or over the widest part of your hand without being stretched tightly. Yes, stretching is the whole point of these pieces of jewelry, but best not to push your luck! Your jewelry will last longer if it’s not stretched to within an inch of its life when putting it on or taking it off.
As you’re making your piece, try it for size every so often to make sure it fits, as well as you being able to put it on and take it off easily.
Finishing
Finishing is very easy! It involves making a few knots, securing it with some glue (preferable) or clear nail polish (good in a pinch). Wait til the glue or polish dries, then snip the tails close to your work and you’re done!
Video Tutorial
If you’d like to see all the above in action, I’ve got a video for you! When you’re done, you’ll be ready to make your very own stretch bracelet. 🙂
And if you’d like to explore more jewelry making projects, you can see more on the Basics page, with more intricate jewelry on the Projects page. Either way — enjoy!